
AD (Active Directory) is easy to use but complex to understand and try on. The most common and helpful software you can work on is Dove stones. You can also ensure the utilization of Ads. It can be done by purchasing the streamlined tools for managing Active Directory. It would help if you had your tools for Active Directory with you to maintain the services of organizations.
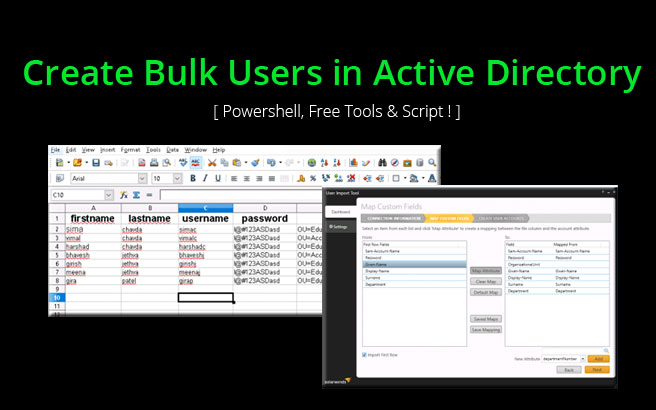
There are six types of programs under AD Toolset that will be helpful to manage the automated Ads. Here are some of the essential steps to import roles and users from Active Directory.
- Initiating the AD using import utility. It can be launched by following steps.
- a) Select ‘Start Menu’ in the Windows. Next, click on the ‘All Programs’ option, then ‘Kentico,’ then ‘Version number,’ and ‘Utilities.’
- b) You can execute the file ‘ADImport.exe.’ It is located in Bin or Kentico installation folder.
Step1. Profile settings to be imported.
You can use an XML profile that is already existing. It can be used to make new profiles to import active directory if you want to. Values will automatically get filled up if you work on an existing file. First, you need to follow the steps given below.
Step2. Setting up Kentico DB.
Identify the primary purpose of the Kentico database. This is the place where you can import active directory roles and users. Below are the different database files that can be used for such work,
Authentic Windows must be integrated into use. You can choose this server when you have to log on to it with the help of authenticated Windows.
IP address or SQL Servers name. These are the two places where you can store the targeted database files.
You can use an SQL Server account. For example, you can log on to the windows server using the filled credentials situated in the below fields.
Choose the connection Establish option and then click the name Database of the Kentico database file.
Step3. Active connection directory. Specialize the domain controller of the AD source system.
You must use your existing account. You can use the domain for such a purpose. It is located in the existing user file in windows.
Specialize in login credentials and domain controlling systems. By opting for such an option, you can fill in the details related to logging in manually.
You can also specify the testing connection by choosing the Test connection option.
Step4. Importing settings. Check all the settings related to importing process.
Various general setting options will help you in different ways to operate. Some of them are Only selected, All, import groups\users, import all-new, or update the selected.
The behavior of the importing process can be enabled or disabled by using different options. These may include Updating the data from existing roles and users, importing fresh users from the specified groups, etc.
Step5. Mapping the field.
You can describe the user’s name and role name format to bind all the properties of AD users to Kentico. Then follow the following steps.
Select the groups and users to be imported > manage the users > adjust those groups > assign the work according to roles > finalize and then import the logs.