
Artex ceilings were a popular choice for homeowners in the 70s and 80s thanks to their textured finish. However, many homeowners are now looking to remove Artex ceilings due to the potential health hazards associated with the high asbestos content. In this comprehensive guide, we will walk you through the process of safely removing Artex Ceiling Removal, step by step.
Identify if Your Ceiling Contains Asbestos:
The first and most crucial step in Artex ceiling removal is to determine if it contains asbestos. Asbestos was commonly used in construction materials in the past and is known to cause serious health issues when inhaled. If you’re not sure whether your ceiling contains asbestos, you should opt for a professional inspection. A qualified asbestos inspector will collect samples of the ceiling material and analyze them in a laboratory to determine if there is asbestos present.
Safety Precautions:
Removing an Artex ceiling can be a dangerous task, and you must take precautions to ensure safety. Wear protective clothing like coveralls, gloves, masks, and goggles to minimize the risk of inhaling asbestos fibers. Ensure proper ventilation in the work area to minimize the spread of asbestos fibers, and we recommend turning off any air conditioning or heating during the removal process. Using a garden sprayer to wet the material before removing it can also be helpful in preventing dust and fibers from becoming airborne.
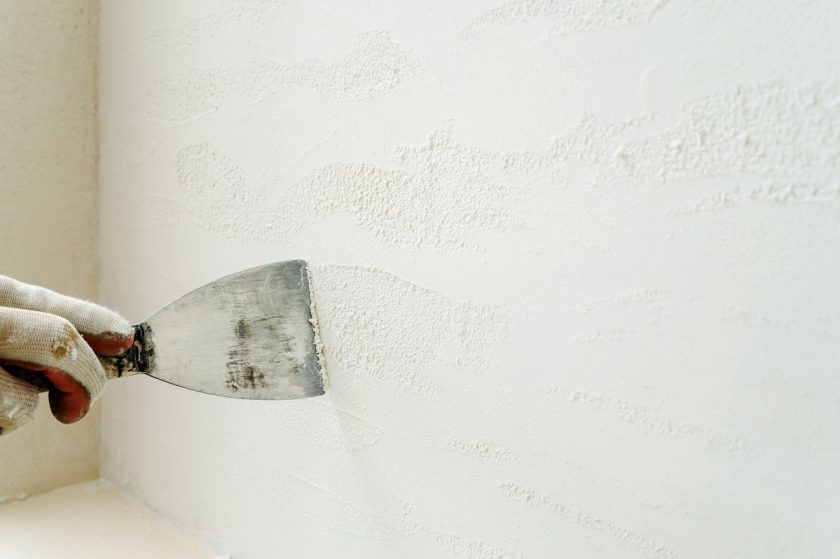
Tools Needed for the Job:
Removing Artex ceiling is a laborious job and requires the right tools to do correctly. Firstly, you will need a ladder that is tall enough for you to reach the ceiling safely. A scraper or putty knife is also required to loosen the texture and can come in various sizes. A container for holding the removed texture material and a large plastic bag to seal and dispose of it is also needed. Lastly, a paint sprayer or roller should be used to apply a new coat of finish onto the newly scraped ceiling.
The Removal Process:
The removal process of an Artex ceiling can be time-consuming and messy. We recommend removing one section of the ceiling at a time to minimize mess and dust. Begin by spraying sections of the ceiling with water, taking care not to soak the surface. Once dampened, use the scraper or putty knife to lift the texture away from the surface of the ceiling. Collect all the removed texture in the container, and dispose of the material safely. Continue the process until the entire ceiling is free of texture and debris. After removing the texture, vacuum the area thoroughly and wipe with a damp cloth.
Finishing the Job:
After successfully removing the texture, you should clean the ceiling using warm soapy water, ensuring that all dirt and debris are removed. Allow the surface to dry thoroughly before inspecting it for any damage or cracks. Use a joint compound to fill in any cracks and smooth the surface before sanding gently. Once the surface is ready, apply a primer to the ceiling before painting with your chosen finish coat.
Conclusion:
Removing Artex ceilings can be overwhelming, but it’s essential to ensure a safe and healthy living environment for yourself and your family. By following the steps outlined in this comprehensive guide, you can safely and effectively remove your Artex ceiling. Asbestos is hazardous and shouldn’t be taken lightly, and we highly recommend seeking professional advice and assistance from a qualified asbestos removal company if you’re unsure about the process. Remember to prioritize safety and take all necessary precautions to ensure a successful removal process.