
The ws2812b LED strip lights are otherwise called RGB LED Strips. They are great-looking tools to create eye-catching visual effects and mesmerizing light shows. You might be an artist. Otherwise, you might be interested in decorations. Also, you might be someone interested in experimenting with lights. Irrespective of the category you belong to, these strip lights can provide you with endless opportunities. So, you can express your creativity. From this guide, you can learn how to create dazzling light shows with these RGB strip lights:

Steps To Create Light Shows With ws2812b strip or ws2812 LED Strip Lights
1. Collect the Materials Required
Before you begin creating the show, make sure that you have gathered all the materials required. Here are the things required in this process:
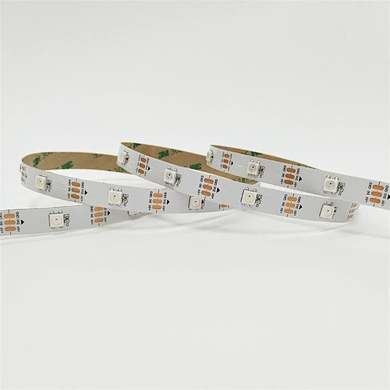
- Choose the length ws2812b strip or ws2812 led strip you need
- You should have a microcontroller. Here, you can go for either Raspberry Pi or Arduino to control LEDs
- Make sure that you have the power supply for the LED strip. Here, you should ensure that the power supply socket can provide sufficient power for your strip.
- Gather jumper wires. They will help with connecting the LED strip to the microcontroller
- You might need Breadboard. This is not a compulsory requirement. But, it will simplify the wiring
- Let us consider that you use Arduino. If so, you should have a computer with Arduino IDE
2. Wiring the LED Strip
In this process, now, you will have to wire the best LED strip lights. You should connect the strip to your microcontroller. Do you find three wires in each LED Strip? The first is the input wire, the second is the power wire and the final one is the ground wire. Here is the process you will have to follow for wiring the strip light:
- Do you see that one of the three wires has been labeled DIN? This is the data input wire. This wire should be inserted into the data output pin of your microcontroller.
- Now, go to the wire with either a VCC or 5V label. This is the power wire and you should connect it to a 5V output on your microcontroller.
- GND is the label you will find in the third wire. This is the ground wire and you should connect it to the ground pin of your microcontroller.
Here, if you use a breadboard, things will be simple. You can easily connect the microcontroller and LED strip to the breadboard.
3. Install Necessary Software
Let us consider that you use the Arduino IDE for programming the microcontroller. In this case, you will have to download and install it on your PC if you do not already have one. You should have the Adafruit NeoPixel library on your PC. This will permit you to control the China LED strip. You can install the library via the Arduino Library Manager.
The best LED strip manufacturer will not prevent you from experimenting with the strip lights. So, you should not be afraid of experimenting and refining your light show. Let us consider that you get familiar with programming strip lights. Then, you can explore advanced features with these lights. Examples include responsive delays, ambient lighting and music synchronization.